
Add or retire an aircraft
For: Hangar admins
adminYour hangar’s aircraft are listed on Hangar settings > Fleet. From there you add aircraft, open each one’s settings, and archive the ones you no longer fly.


Add an aircraft
Section titled “Add an aircraft”- Open Hangar settings and choose the Fleet tab. On a phone, press More, then Hangar settings.
- Press Add aircraft.
- Type the Tail number, and the Make/model if you like.
- Enter Current hobbs exactly as the meter reads now. The decimal point is
put in for you, so type every digit:
28413for 2841.3. - If you want tach time logged, turn on Track tach time and enter Current tach the same way.
- Press Add aircraft. RampMates shows what adding it means for your hangar, such as Adding N731MX is included — no charge. That makes 4 aircraft.
- Press Add aircraft again to confirm, or Cancel.
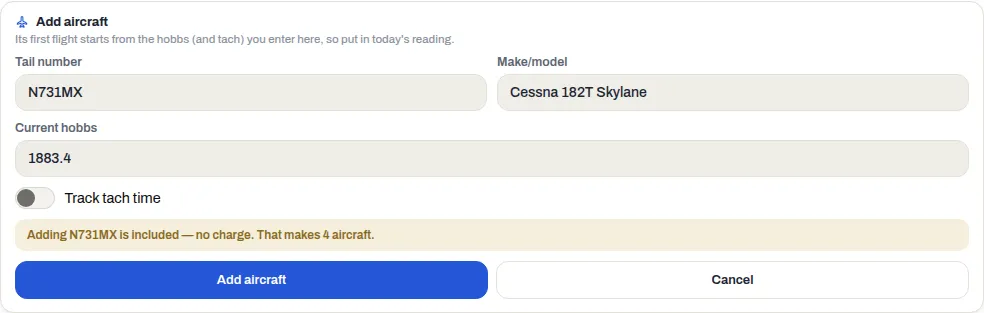
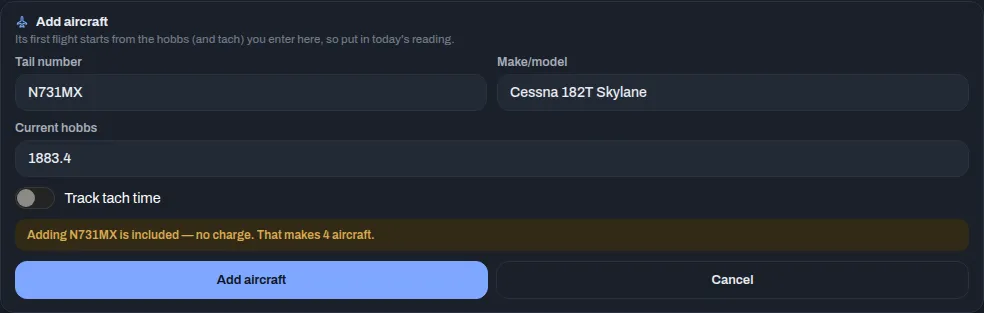
The first flight in the new aircraft starts from the hobbs and tach you entered, so get them right – the hobbs can’t be changed afterwards. See Hobbs and tach.
Then press the new tail number to set up the rest: how a flight is priced, the oil change interval, its home airport and hours. See Aircraft settings.
Open an aircraft
Section titled “Open an aircraft”Each row has two ways in:
- Press the tail number to open that aircraft’s settings.
- Press Open to go to that aircraft’s dashboard and make it the aircraft the rest of the app is about – the logbook, squawks and so on. The one you’re on is marked Current instead.
An aircraft you don’t have access to yourself is marked No access and can’t be opened. See Choose who can fly which aircraft.
Change the order
Section titled “Change the order”Press ⋯ on a row and select Move up or Move down. The aircraft picker and the schedule’s columns follow the same order.
Retire an aircraft
Section titled “Retire an aircraft”Press ⋯ on its row and select Archive. It happens straight away: the aircraft moves to the bottom of the list, grayed and marked Archived. From then on nobody can open, book or fly it, it leaves the aircraft picker and the schedule, and it no longer counts toward your fleet. Its flights, squawks and maintenance records are kept, and come back if you unarchive it.
To bring it back, press ⋯ and select Unarchive. RampMates shows the same kind of confirmation as when you add an aircraft; press Unarchive to confirm.
If something goes wrong
Section titled “If something goes wrong”- “… is capped at … aircraft and is holding …. Email support and we’ll raise the cap.” Every hangar has a limit on how many active aircraft it can hold – 25 unless it’s been changed. It’s a safety limit, not a plan you can buy past: contact RampMates support and it can be raised. Archived aircraft don’t count, so archiving one you no longer fly also makes room. Unarchiving can hit the same limit.
- “An aircraft with this tail number already exists” – that tail number is already in RampMates, in your hangar or another one. If it’s an archived aircraft of yours, unarchive it instead of adding it again.
- “This aircraft has history — archive it instead” under a row – you tried to delete an aircraft that has records. Archive it.
- The hobbs came out ten times too small. The last digit you type is the
tenths: typing
2841gives 284.1. Clear the box and type28413.